
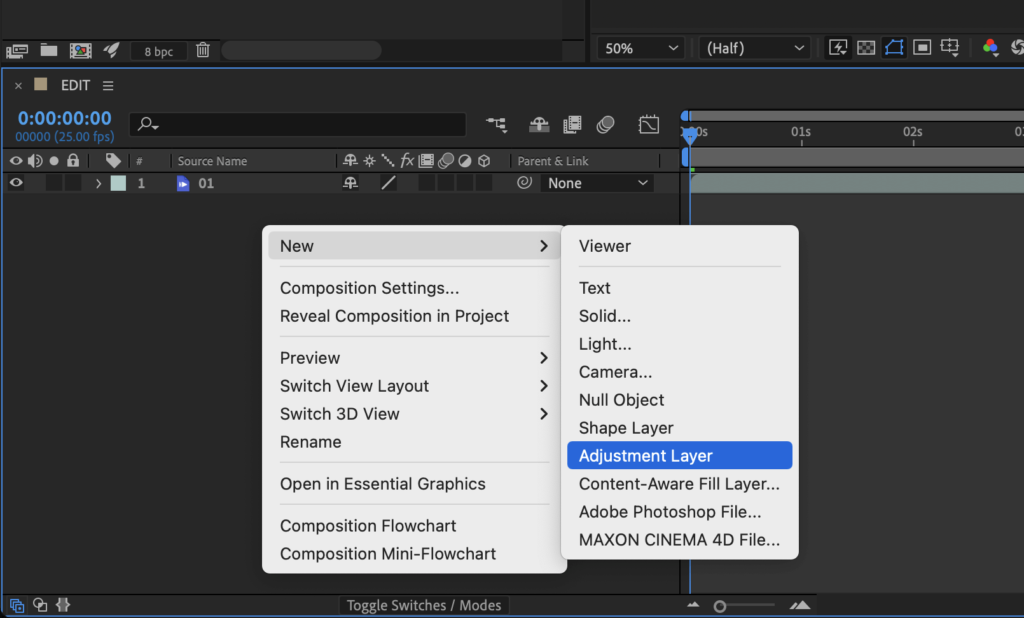
To apply a 3D LUT in Adobe After Effects (CS6 or more recent, 2022), you have first to add an Adjustment Layer in your timeline.
Do right-click > New > Adjustment Layer:
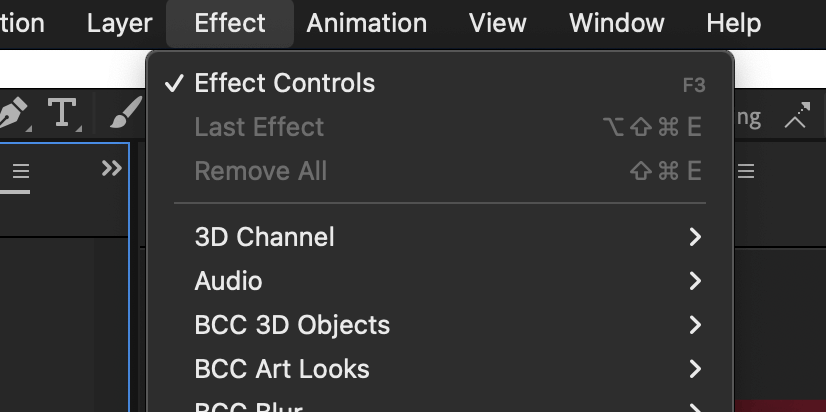
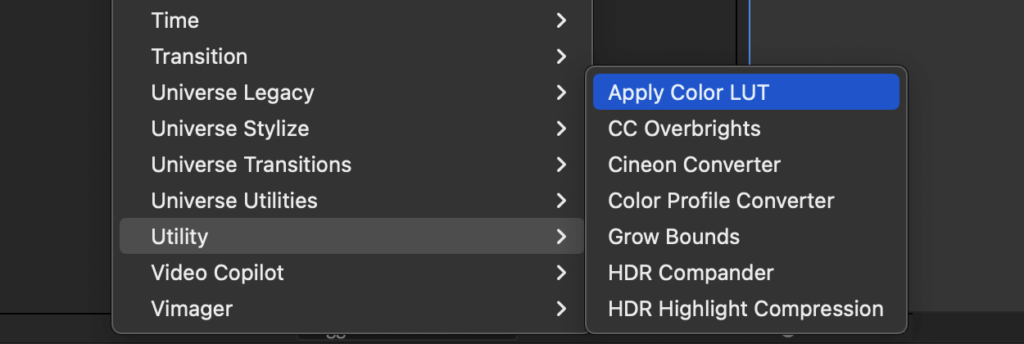
Then, go to menu Effect > Utility > Apply Color LUT:
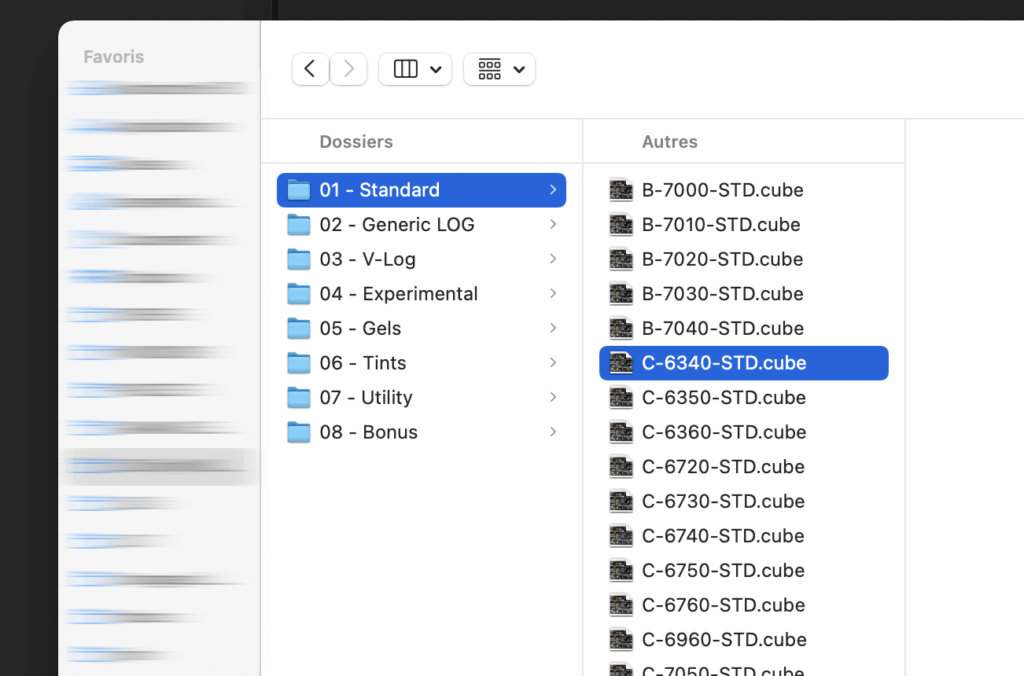
A window will open. Select a 3D LUT file, with .CUBE extension.
For example below, all the .CUBE LUTs from the IWLTBAP Cinematic Pack.
Now you can adjust the intensity/opacity.
In the timeline window, press “T” to open Opacity parameter and choose the proper intensity.

Done 😊